The short answer
Change the wheel where you are stopped and safe, not where it happens to be convenient. Hazard lights on, handbrake on, a chock against the diagonally opposite wheel, and a high-visibility jacket on if you have one.
Loosen the wheel nuts a quarter turn before the car goes up in the air, jack it at the jacking point shown in the handbook, swap the wheels, then tighten the nuts in a cross pattern and have the torque checked soon afterwards.
Most drivers take 15 to 25 minutes at the roadside once they have done it a couple of times.
What you need before you start
Every car sold in the UK should carry a jack and a wheel brace, but that is not the whole kit. Check these are in the boot before a long journey, and check them again on the day you buy a used car.
- Spare wheel
- A space saver or full-size wheel, inflated and checked. Many space savers run at a much higher pressure than the road tyres; the figure is on the wheel or in the handbook.
- Jack and wheel brace
- The set supplied with the car. A scissor jack is standard; a trolley jack is only practical on a driveway.
- Locking wheel nut key
- Needed on most alloy wheels. Keep it in the car, because without it the wheel cannot come off without a garage's help.
- Wheel chock
- A proper chock or a solid offcut of timber placed against the wheel diagonally opposite the one being changed.
- High-visibility jacket and torch
- Cheap, light and the biggest single improvement to your visibility at the roadside, especially in the dark or the rain.
- Warning triangle
- Required in many European countries but not to be used on UK motorways. Never walk along a live carriageway to place one.
Changing the tyre, step by step
-
01 /
Stop somewhere safe and flat
Get as far off the carriageway as you can. A lay-by, a car park or a quiet side street beats a verge every time. Avoid slopes, soft ground, gravel and anywhere traffic will pass close by. On a motorway, aim for an emergency area or the hard shoulder, then get everyone out through the nearside doors.
-
02 /
Secure the car
Hazard lights on, handbrake firmly on, first gear or park selected. Send passengers well away from the traffic, behind the barrier if there is one. Put the chock against the wheel diagonally opposite the one you are removing, because that is the corner carrying the load once the car is jacked.
-
03 /
Lay the kit out before you start
Spare wheel, jack, brace, locking nut key, jacket and torch out and within reach. Check the brace fits every nut on the wheel before you do anything else; one odd-sized nut discovered halfway through is a common and entirely avoidable delay.
-
04 /
Loosen the wheel nuts while the wheel is on the ground
Break the resistance on each nut with a quarter to half turn, working diagonally across the wheel. If a nut refuses to move, do not fight it once the car is in the air. That is how cars come off jacks.
-
05 /
Jack at the correct point
Look for the reinforced pad or notch on the sill, marked in the handbook diagram. Jack slowly until the tyre is just clear of the ground, and put the removed wheel flat under the sill if you have to reach into the arch.
-
06 /
Take the nuts off and remove the wheel
Undo the nuts fully and put them in a cup or a pocket, never on the road where they roll. Pull the wheel straight off the hub. If it is seized on, lower the car, loosen the nuts a turn and rock the body gently rather than kicking a wheel that is up in the air.
-
07 /
Fit the spare
Lift with your legs, line up the bolt holes and push the wheel onto the hub. Refit the nuts by hand with the taper facing inwards where the nuts are tapered, and take them up until the wheel is snug. Do not fully tighten yet.
-
08 /
Lower the car and tighten in a cross pattern
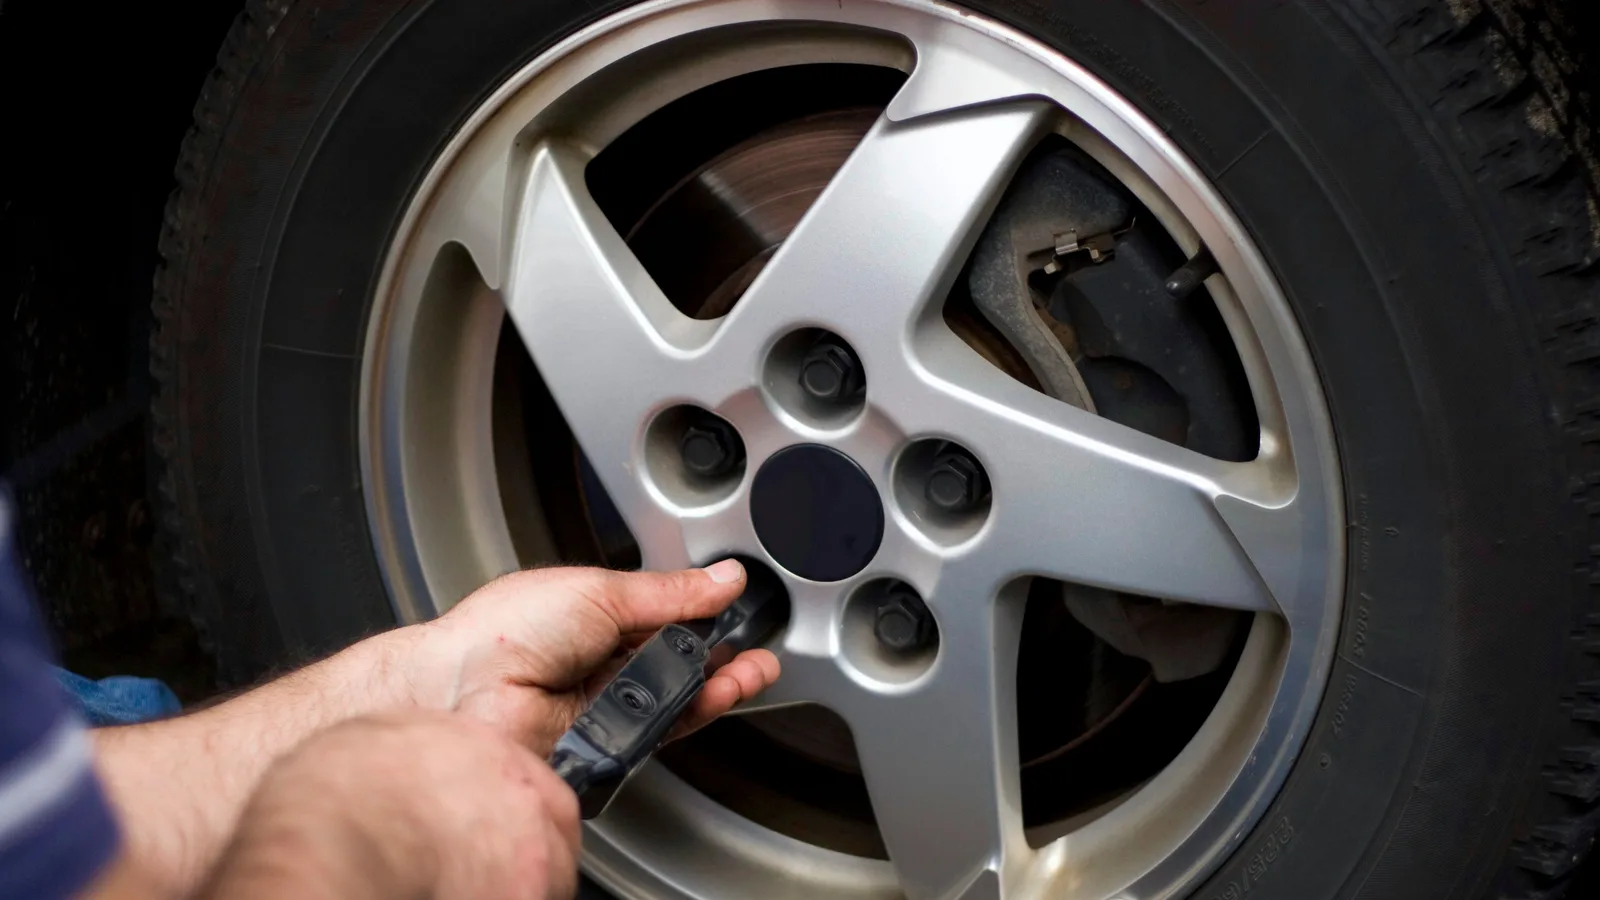
Lower it until the jack comes free, then tighten the nuts in a star pattern: top, diagonally opposite, and round in two or three passes. Use a torque wrench to the figure in the handbook if you have one.
-
09 /
Stow the kit and note the limits
The punctured wheel goes in the spare well; a full-size wheel may not fit, in which case it must be secured so it cannot shift in a crash. Check the spare's pressure at the next stop, obey any speed limit marked on a space saver, and have the nuts re-checked after about 50 miles.
Finding the jacking point
Cars have a specific reinforced area on each sill, usually a short seam with a notch or a flat pad, and the handbook diagram shows exactly where it is. That is the only place the jack should go.
Things that look tempting and are not jacking points: the ordinary sill seam away from the reinforcement, the floor pan, the exhaust, the suspension arms, the sump and anything plastic. A jack that dents a sill or crushes a fuel line turns a ten-minute job into a bodyshop bill.
Tightening order, torque and locking nuts
Wheel nuts hold the wheel against the hub by clamping force, so evenly applied torque matters more than brute force.
- Tighten in a star or cross pattern, never clockwise round the wheel, so the wheel seats squarely.
- Take the nuts up in two or three passes rather than one big heave on the first nut.
- Use the torque figure in the handbook if you have a wrench. Without one, tighten firmly and have the torque checked at a garage within a few days.
- Keep the threads clean. Grease on wheel studs changes the clamping force for a given torque and is not usually recommended unless the handbook says so.
- The locking nut key is the one people lose. Put it back in the car, not in the toolbox on the garage shelf.
What commonly goes wrong, and how to fix it
| Problem | Why it happens | What to do |
|---|---|---|
| Wheel nut will not budge | Seized thread, or a nut over-tightened with an air gun at the last service | Use a longer bar and steady pressure with the car on the ground. If it still will not move, do not jack the car up |
| Car slips or the jack sinks | Sloping ground, soft grass, or the jack placed away from the reinforced point | Lower it, move to firm level tarmac and re-check the handbook diagram before trying again |
| Wheel stuck on the hub | Corrosion between an alloy wheel and the steel hub face | Lower the car, loosen the nuts a turn and rock the body gently. Never kick a wheel that is off the ground |
| Locking nut key missing or rounded | Key left at home, or damaged by a rattle gun | Search the glovebox and boot first. A garage can remove a locking nut; do not hammer a socket onto it |
| Spare feels unstable on the road | Space savers are narrower and run at higher pressure than a normal tyre | Keep to the speed marked on the wheel, brake gently and get the damaged tyre sorted promptly |
| Nuts loose after a few miles | The wheel has settled and the nuts were not re-checked | Re-torque with a wrench at about 50 miles, or at the earliest safe stop |
Motorway and roadside safety
On ordinary roads, judge whether the spot is genuinely safe before you open the boot. A blind bend, the crest of a hill, a narrow bridge or a fast dual carriageway is not the place to be kneeling in the road. If the car will roll on a flat tyre, drive slowly to the next safe pull-off rather than stopping somewhere dangerous, accepting that the tyre will be ruined.
Wear the jacket even in daylight. A dark car in rain is close to invisible, and other drivers are watching the traffic, not you.
After the change: getting home safely
A space saver is a temporary wheel. Keep to the speed marked on it, usually well below motorway speed, avoid hard cornering and braking, and treat every mile as a mile on borrowed time. Check its pressure as soon as you can, since a space saver that has sat in the boot for years is often soft.
Have the punctured tyre inspected before you decide to replace it, and get the wheel nuts properly torqued. If the car pulls or the steering wheel is off-centre afterwards, stop and check that the wheel is seated squarely and the nuts are tight.
If you are not confident, stop
There is no shame in deciding the conditions are wrong. Darkness, driving rain, a fast road, no jacket, no torch or a seized nut are all good reasons to call a breakdown service or a local garage instead.
A wheel change you abandon costs an hour. A jack that folds on a slope, or a driver working in a live lane, can cost far more.
Common questions
Can I use a tyre sealant kit instead of changing the wheel?
Sealant is a get-you-home measure for a small puncture in the tread. It cannot seal a sidewall cut, a large hole or impact damage, and once sealant has been used a tyre is often no longer repairable. Read the handbook before you use it.
How often should I check the spare?
Check it at the same time as the road tyres, roughly once a month and before a long trip. A spare that has sat unused for years may be past its safe service life even though the tread looks new.
Can I borrow a space saver from another car?
Only with care. A wheel from a different model may not clear larger brake calipers or match the stud pattern, and the handbook is the only reliable guide. Use the wheel supplied with your own car.
Is it illegal to drive without a spare wheel?
No. A spare is not a legal requirement in the UK, and many new cars are supplied with a sealant kit instead. What matters is being able to deal with a puncture without stopping somewhere dangerous.